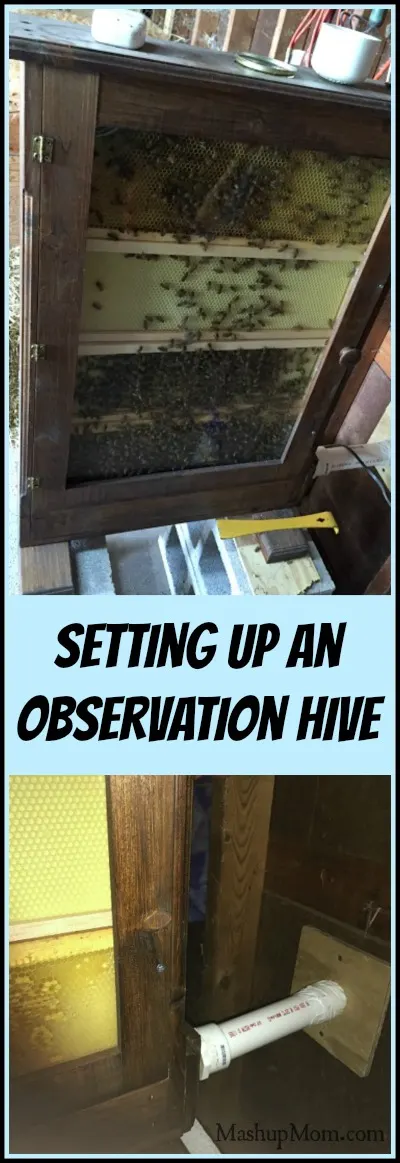
Another post from MashupDad this week, because he's been as busy as a... OK, I have to say it... as a bee! I mentioned a couple of weeks ago that he'd built and set up an observation beehive this year, so here he'll tell you more about that process.
Setting Up an Observation Beehive
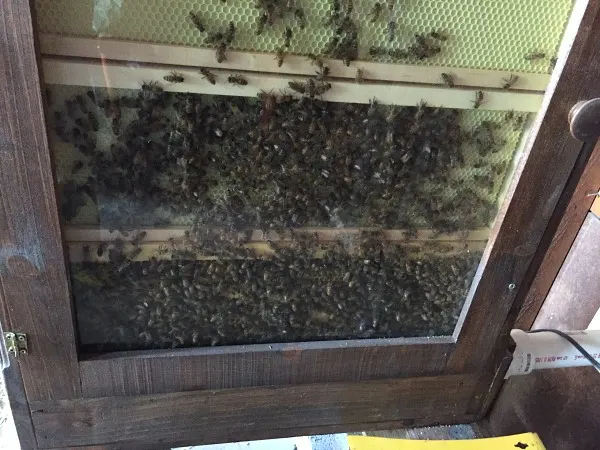
I've been beekeeping for a number of years now and have always wanted to set up an observation hive. With regular beehives, if I want to observe our bees I need to:
- Put on a veil,
- Fire up a smoker,
- Open up the hive, and
- Pull out frames.
All of this activity is really disruptive for the bees.
The problem with most observation hives, though, is that they are really too small to be self-sustaining because it takes a fair bit of real estate to contain all of the brood, honey, pollen, and 20,000 to 30,000 bees. After some searching, I finally found an eight frame hive that should be able to let the hive grow naturally.
It's still small for a beehive, though, so I'll have to swap out frames regularly to make room and remove swarm cells. (Note: Swarming is the natural way in which honeybee colonies reproduce themselves. Here's a photo of a swarm I caught a couple of years ago.)
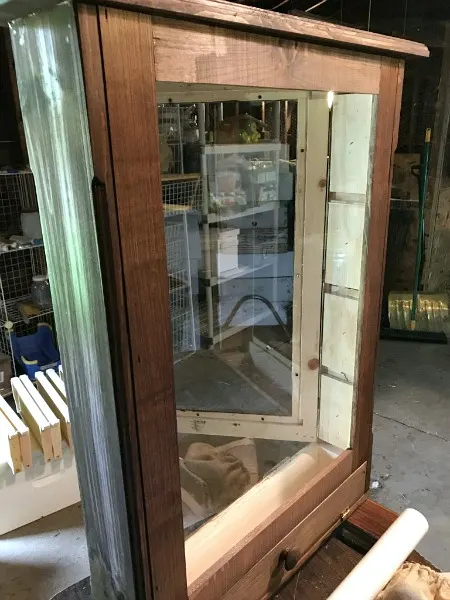
After I assembled the kit I ordered, the first step was to stain the observation hive. I just used standard stain and followed a rule of thumb I learned along the way regarding stain or paint. If it's exposed to the elements, then paint it or stain it. If it's going to come in contact with the bees, leave it bare. Have a look, and you'll see that the interior is unstained.
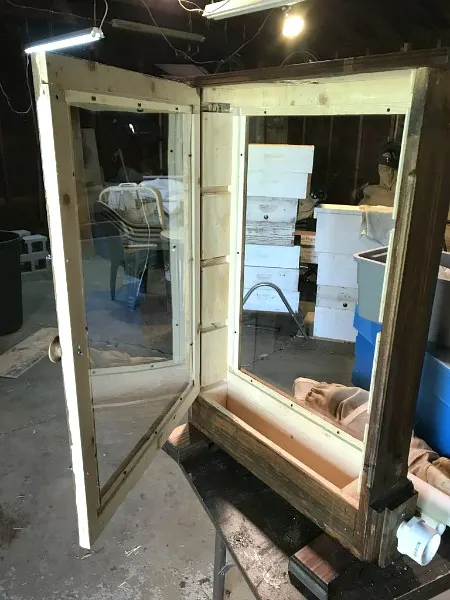
I also ended up having to make a few modifications, because the hive I purchased was definitely not built by a beekeeper! First, I had to make some adjustments so that standard frames would fit inside.
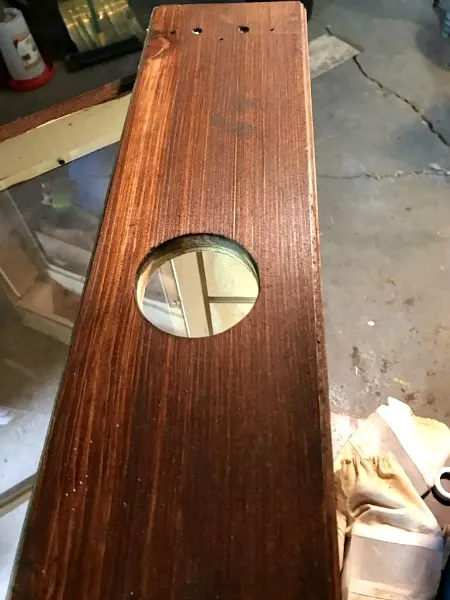
I also drilled a ventilation/feeder hole in the top. Bees generate a lot of heat, so a healthy hive needs air flow. It's also a handy way to feed the bees over the winter or in early spring: Since the hive is so small, there really isn't room for them to store a lot of honey to sustain themselves when they don't have ready access to pollen.
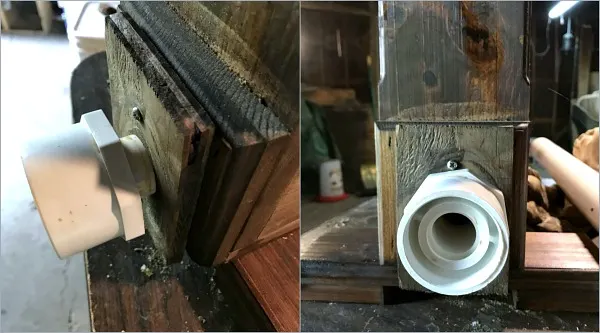
Next, I modified the entrance and rigged some PVC together so I could allow the bees access to the outside world -- but would also be able to close the hive up and take it on the road. The trick with this is to take your time at Home Depot and look at all the PVC gizmos. Chances are, no matter what you want to do, you can find a PVC solution for it if you look hard enough.
I teach a beekeeping class for kids for 4-H, and have also done presentations at the 4-H extension as well as school talks. It's nice for the 4-H kids to be able to observe the bees in a controlled environment, because when we're out in the bee yard it can get a bit overwhelming -- and kids love the hive when I bring it into the class. (I think I'm incredibly interesting, but having a living buzzing prop makes the presentation even better for those who would not agree.)
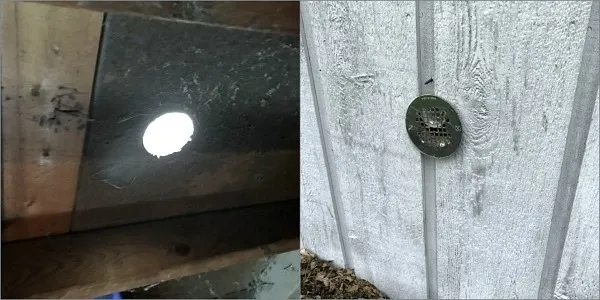
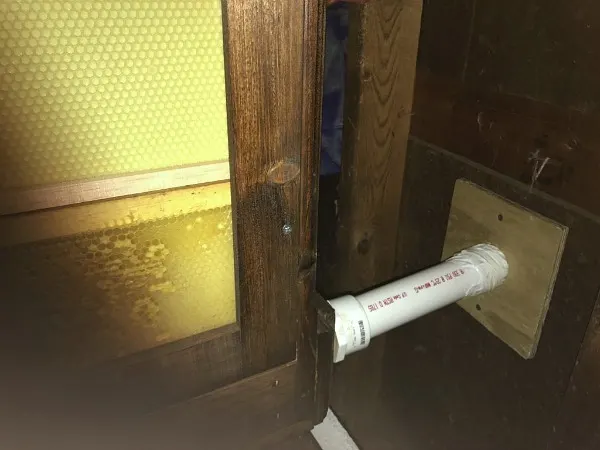
So, after I got the PVC connected I drilled a hole through the back of our old detached garage (now home to our chicken coop and bee supplies), and connected the PVC pipe from the hive to the hole in the wall. I used a shower grate on the outside of the hole to keep varmints from climbing in, while still allowing easy access for the bees.
I started the hive out with three frames that had been drawn out, or built up with comb already (one of which even had some capped honey). This would allow the queen to start laying immediately once released, and give the bees some food to start out with.
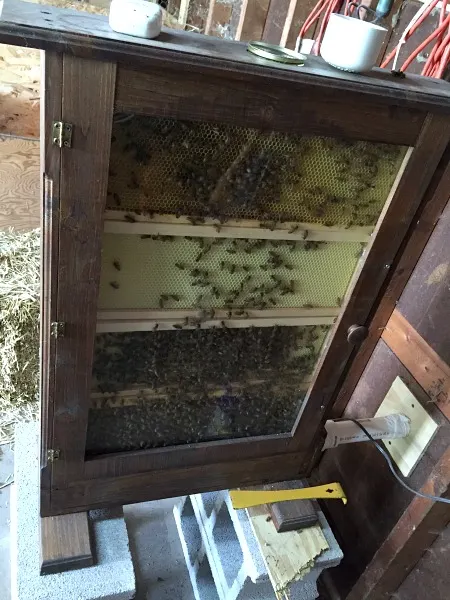
The next part was easy. I just dumped in a packet of bees the same way I would have for a normal hive, then checked to make sure the queen was released after a few days. When installing a package, I use the "bump and dump" method. When you buy a package of bees the queen comes in a separate cage because when they create "packages" they basically fill them with random bees (3 lbs, which is the equivalent of about 10,000 bees) and then put in a mated queen. The worker bees see her as a foreign queen and essentially try to kill her -- so the cage protects her at the beginning.
At the end of the cage, there's a candy (usually a piece of marshmallow) plug that the bees will immediately start to consume. It takes a day or two for them to eat through this candy plug. But, during the time that it takes them to get through the plug, the new queen's scent has taken over. So by the time they get to her, the workers see her as their queen, and she can then immediately get to work laying eggs.
Luckily, our queen was released, she started laying, the bees have been building out comb, and: Mission accomplished!
Waggle Dancing About the Outside World
The above video is not actually a great example since the other bees really don't seem to care about her dance, but I'll record a better one and share it at a later date.

Jon
Friday 1st of May 2020
Can you share where you got the kit?
Thank!
rachel
Saturday 2nd of May 2020
Sorry, no idea -- this was so long ago!
mashupDAD
Friday 26th of May 2017
Thanks!
Mandy
Saturday 20th of May 2017
Amazing! Thanks for taking the time to show all of this.
Rose
Saturday 20th of May 2017
How interesting thank you for sharing I love to hear your post on the chicken s and the bees!
mashupDAD
Friday 26th of May 2017
Thanks!!
Amanda
Saturday 20th of May 2017
How much propolis do you get from an observation hive (or any hive!) and do you sell it? :)
mashupDAD
Friday 26th of May 2017
It really depends on the hive. Generally I'd get a tablespoon a season from a hive. I had a hive where the bees actually built up a huge propolis dam to block the wind but that is really rare to get that much. So far the bees haven't glued much together in the observation hive. I don't sell it though.