
Homemade sunflower butter may not be the prettiest recipe in the world to photograph, but it's darn tasty. So: Let's talk a bit today about how to make your own homemade sunflower seed butter, and about whether it's better to make it... or buy it!
Comparing Costs
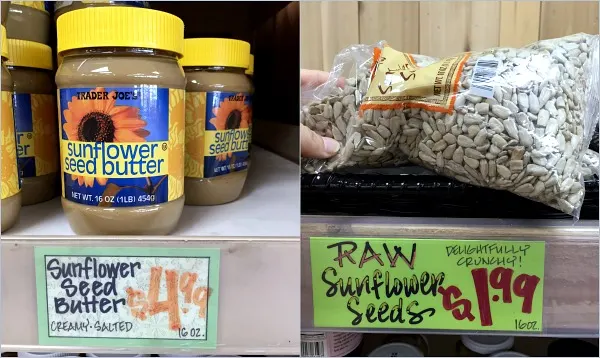
Last week I was walking through Trader Joe's, where I noticed that they had a 16 oz jar of sunflower seed butter on sale for $4.99 and a 16 oz bag of sunflower seeds selling for $1.99, while 16 oz Sunbutter is regularly priced over $6.00 at Target! Well... sunflower butter really is frightfully easy to make, so your decision to make it or buy it in part boils down to whether the time investment required is worth saving that extra $3.00-$4.00 (plus a very minimal cost for additional ingredients).
- No Trader Joe's near you? Try ALDI or Amazon for affordable sunflower kernels.
Comparing Ingredients
Let's look at the ingredient lists on a few commercial sunflower seed butters:
- Unsweetened sunflower seed butter at Trader Joe's contains roasted sunflower seeds and salt.
- No sugar added Sunbutter contains roasted sunflower seeds and salt.
- Regular sunflower seed butter at Trader Joe's contains sunflower seeds, evaporated cane juice, and salt
- "Natural" Sunbutter contains roasted sunflower seeds, sugar, vegetable oil (mono-diglycerides), salt, and vitamin E ("natural mixed tocopherols to preserve freshness").
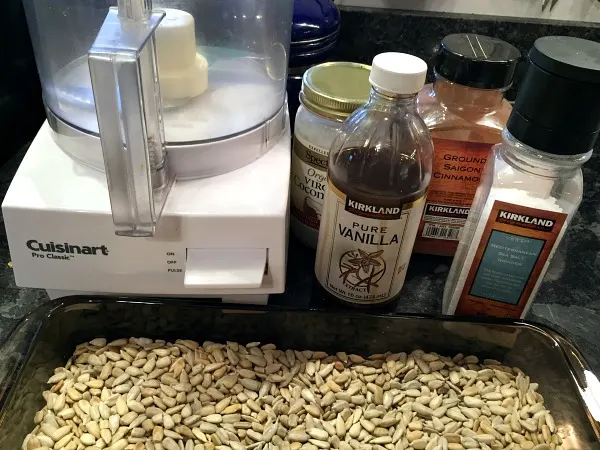
Let's look at the ingredient list on my homemade sunflower seed butter:
- Sunflower seeds, sea salt, vanilla extract, cinnamon, and a little coconut oil (to help spreadability)
Why the cinnamon and vanilla? Because I like them. 🙂 Feel free to leave these ingredients out of your own sunflower butter if you don't -- but I really think that they help add something to the final product and help it taste great without sugar. You can add in a little honey if you like, but taste first and see if you really need it.
A note on food allergies
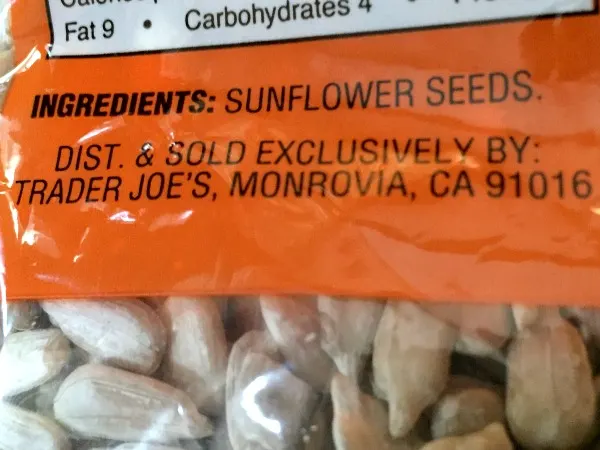
The Trader Joe's raw sunflower seeds I used here don't have a cross-contamination warning on the package -- but also don't specifically state that they're processed in a nut-free facility. We don't have peanut or tree nut allergies in this house, but if you do, you might either contact TJ's to verify or use sunflower kernels that specifically state they are processed in a dedicated facility.
Homemade Sunflower Butter
Ingredients
16 oz sunflower kernels *see note
Sea salt, to taste (¼-1/2 tsp)
1 teaspoon vanilla extract
1 teaspoon cinnamon
1.5 teaspoon coconut oil, divided
* Note: If using salted sunflower seeds, omit the salt in the ingredient list above. If using roasted sunflower seeds rather than raw, omit the toasting step and just add your sunflower kernels directly to the food processor. I like using raw ones because I think they taste fresher when freshly toasted, but your sunflower seed butter will be delicious either way.
Directions
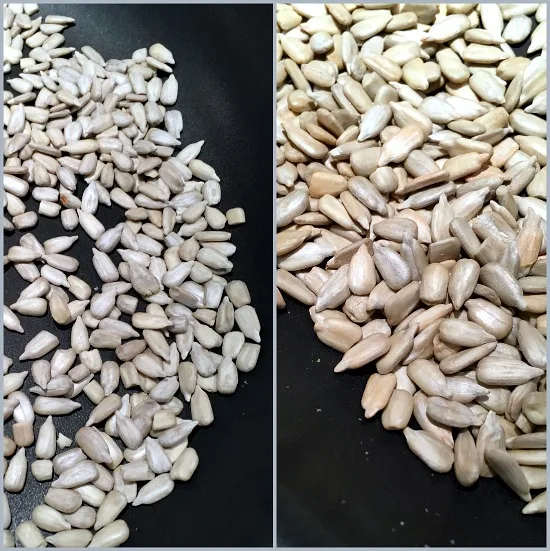
If using raw seeds, start by toasting your sunflower kernels (skip this step if you're using roasted sunflower seeds). Heat a large skillet over medium heat, then add a single layer of raw sunflower kernels to the dry skillet and let them sit for about a minute undisturbed. Stir and continue cooking over medium heat for another couple of minutes, stirring frequently, until kernels are browned, toasted, and fragrant. (You'll need to do this in three or four batches to toast the full 16 oz bag.) Remove toasted kernels to a separate container and let them cool a bit before proceeding.
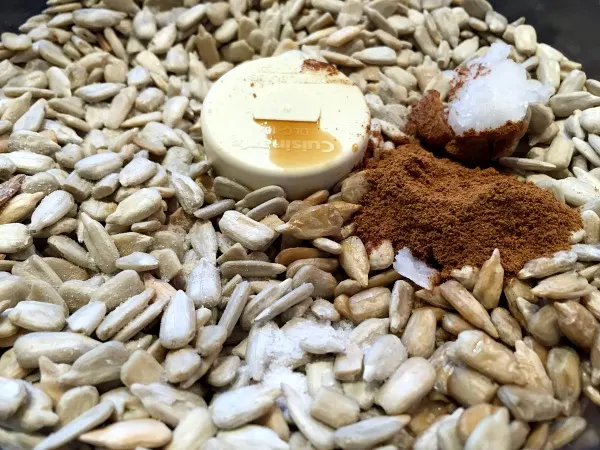
Now, let's make sunflower seed butter! Add your toasted or roasted sunflower seeds, sea salt, vanilla, cinnamon, and ½ teaspoon coconut oil to a food processor.
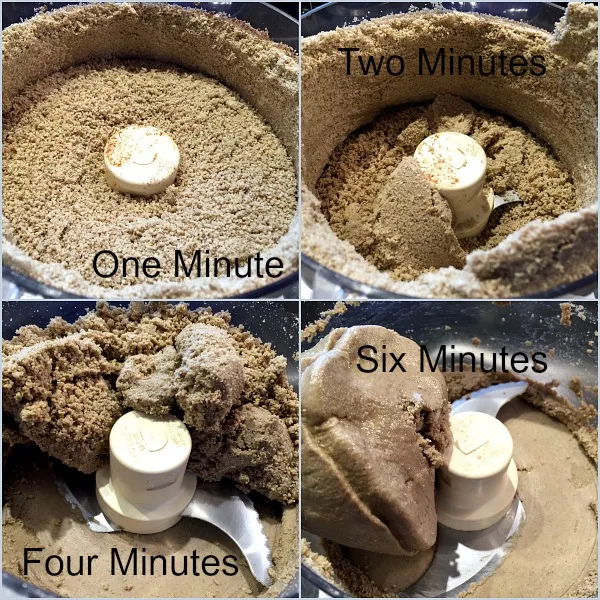
Process until the sunflower seed butter is at its desired consistency, about sixteen minutes total. You'll want to stop, stir, and scrape down the sides regularly. As the sunflower butter starts to form balls later in the process, just break them up and continue to stir occasionally. (I stopped to scrape and stir every minute up until the eight minute mark, then switched to every two minutes.)
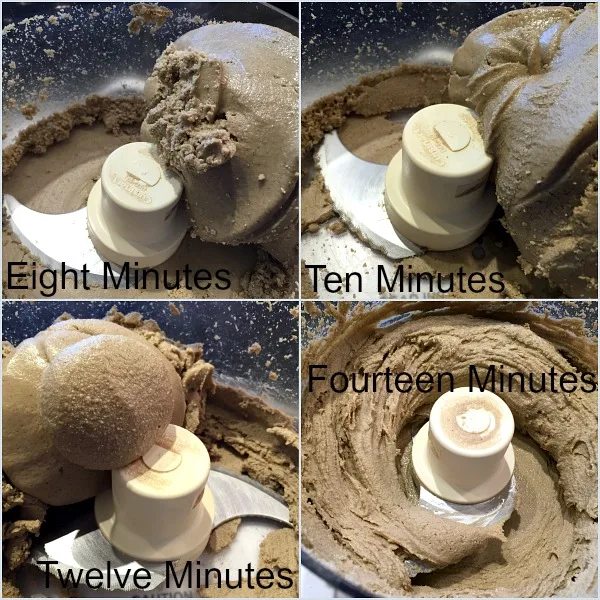
Incorporate additional coconut oil to help smooth things out as necessary; I added half a teaspoon at the four minute mark, and another half teaspoon at the eight minute mark, for a total of 1.5 teaspoon all together.
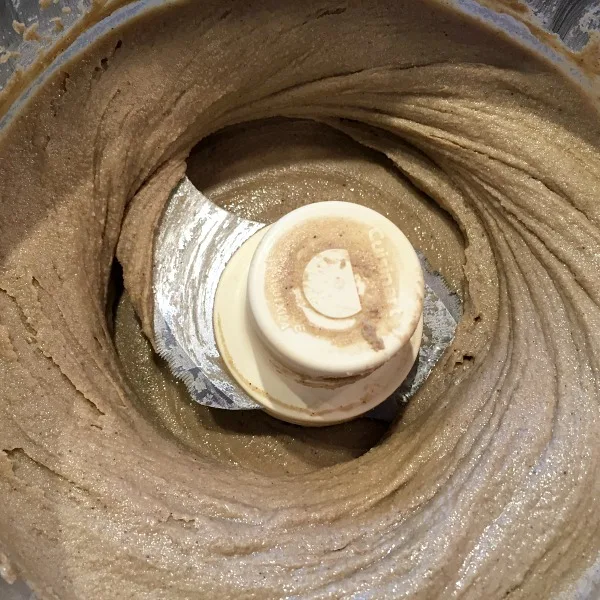
Sixteen Minutes in -- Perfect!
When your sunflower butter is at its desired consistency, taste and add a little more sea salt and/or honey if desired. I left mine unsweetened here since the seeds have their own natural sweetness (and the vanilla and cinnamon add flavor), but you might want to sweeten yours a bit if you're used to sweetened Sunbutter or similar brands.
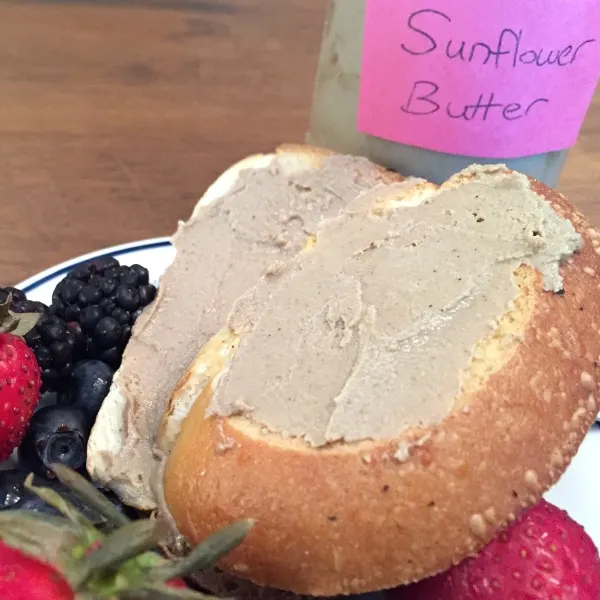
My homemade sunflower butter was at the perfect texture after sixteen minutes total processing time, but your time may vary depending on how powerful your food processor is. Store the finished sunflower seed butter tightly covered in your refrigerator.
So, Make It... or Buy It?
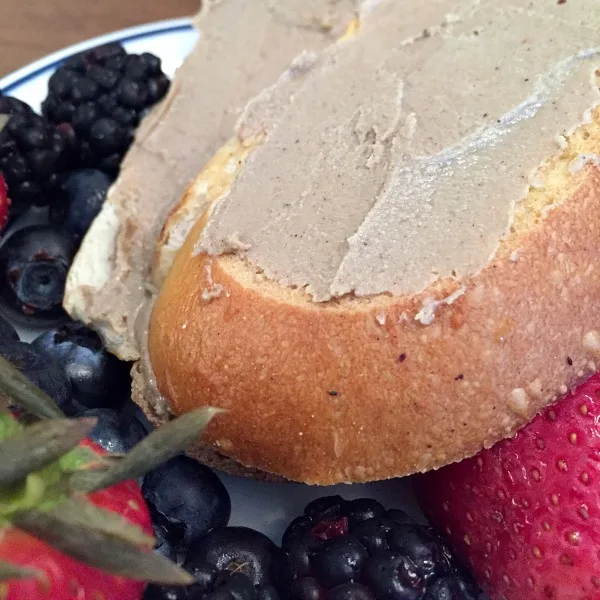
I ate this little plate of sunflower butter toast right up after taking these photos, High School Guy powered through a sunflower seed butter sandwich with black currant spread, and Middle School Guy enjoyed his right off the spoon. We all thought this batch turned out better and so much fresher than either Sunbutter or Trader Joe's brand, so give it a try and see if you also enjoy homemade more than store-bought!
Let's see how they stack up:
- Homemade sunflower seed butter wins on both affordability and taste, coming out much fresher and sunflower-y than premade jars.
- As far as ingredients go, though, the unsweetened store-bought Sunbutter or Trader Joe's brand are both about as simple as you can get.
- Store bought sunflower butters are much more convenient, but actually making your own homemade sunflower seed butter is super easy -- it's just a little time-consuming!
- With homemade sunflower seed butter you can control the sweetness level and additional flavors to your own liking, whether you prefer cinnamon and vanilla as I used here, or prefer to add in a little honey.
Overall, I think the race here has to go to... homemade!
Homemade Sunflower Butter, printable recipe
Homemade Sunflower Butter (Make It or Buy It?)
Ingredients
- 16 oz sunflower kernels *see note
- Sea salt, to taste (¼-1/2 tsp)
- 1 teaspoon vanilla extract
- 1 teaspoon cinnamon
- 1.5 teaspoon coconut oil, divided
Instructions
If using raw seeds, start by toasting your sunflower kernels (skip this step if you're using roasted sunflower seeds).
- Heat a large skillet over medium heat, then add a single layer of raw sunflower kernels to the dry skillet and let them sit for about a minute undisturbed.
- Stir and continue cooking over medium heat for another couple of minutes, stirring frequently, until kernels are browned, toasted, and fragrant. (You'll need to do this in three or four batches to toast the full 16 oz bag.)
- Remove toasted kernels to a separate container and let them cool a bit before proceeding.
Now, let's make sunflower seed butter!
- Add your toasted or roasted sunflower seeds, sea salt, vanilla, cinnamon, and ½ teaspoon coconut oil to a food processor.
- Process until the sunflower seed butter is at its desired consistency, about sixteen minutes total. You'll want to stop, stir, and scrape down the sides regularly.
- As the sunflower butter starts to form balls later in the process, just break them up and continue to stir occasionally. (I stopped to scrape and stir every minute up until the eight minute mark, then switched to every two minutes.)
- Incorporate additional coconut oil to help smooth things out as necessary; I added half a teaspoon at the four minute mark, and another half teaspoon at the eight minute mark, for a total of 1.5 teaspoon all together.
- When your sunflower butter is at its desired consistency, taste and add a little more sea salt and/or honey if desired. I left mine unsweetened here since the seeds have their own natural sweetness (and the vanilla and cinnamon add flavor), but you might want to sweeten yours a bit if you're used to sweetened Sunbutter or similar brands. My homemade sunflower butter was at the perfect texture after sixteen minutes total processing time, but your time may vary depending on how powerful your food processor is.
- Store the finished sunflower seed butter tightly covered in your refrigerator.
Notes
Nutrition
More Make it or Buy It Ideas
If you’re looking for more “make it or buy it” ideas and recipes, read more here:
Anything else you’d like to see covered in these categories? Comment here!

Nic
Thursday 26th of December 2019
Store bought Sunflower butter has a funny taste to me. Until I made this recipe, I thought I just disliked sunflower butter. Now, I like Sunflower butter!!!
Mandy
Sunday 17th of September 2017
I find that green peppers, which I love are bitter when cooked, which a little bit is okay and really good, but, for broth I only use carrots, celery, parsley and onion. The rest of the veggies, I would add to the broth when I use it in a casserole or soup. I love cabbage and broccoli in soup, but, I cook it separately and then put it in the bowl and ladle the soup over it. I think I might try the cucumber skin in a bowl and see how it is when cooked. May be interesting!
karen
Sunday 17th of September 2017
I'm not sure where to post this but I have been making my own veggie, chicken, turkey, beef broth as I am on a diet without onion, garlic, and black pepper, and am wondering about some of the stuff you can put in or not as they might overpower the flavor? How about red and orange sweet peppers, Kale stems and swiss chard stems lettuce stems, cucumber peels and ends. These are all things I grow organically in my garden and hate to just put it in the compost pile if I can get some nutritional value in the broth. Have you tried any of these? Thanks for sharing your experiences!
rachel
Sunday 17th of September 2017
You don't want to put any cruciferous veggies in because they will turn your broth bitter or tend to overpower it, so I wouldn't do anything like kale or Swiss chard. Bell peppers would probably be OK, though. No idea about cucumber peels but my instinct is they would be weird -- anyone else want to chime in on that?
Nora
Thursday 25th of May 2017
For me, this would strictly come down to the quality difference. Otherwise, the prep time (and work) would't be worth the $3.00 savings.
One issue, though: once you make it, what is the shelf life for this product? Do you need to use it within a few weeks?
rachel
Thursday 25th of May 2017
You'll want to keep it refrigerated -- mine's never lasted that long, though. :)