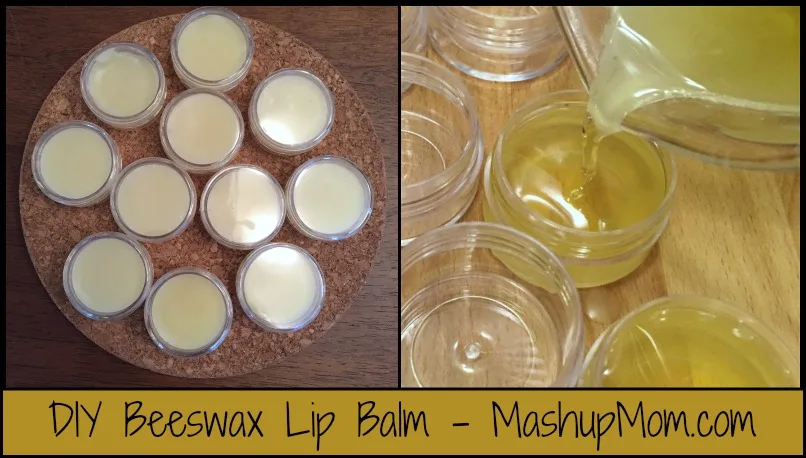
Here's another tutorial from MashupDad, who's been busy lately making his own DIY beeswax lip balm. It's actually taken quite a while to collect and render enough pure beeswax from his beehives to use in crafts and cosmetics, but he'll tell you a little bit more about that below. So: Here's how to make beeswax lip balm containers, with a number of helpful tips along the way.
Keep up with MashupDad's ongoing adventures in beekeeping here!
DIY Beeswax Lip Balm -- A How-To from MashupDad
Years ago, I took an introduction to beekeeping course which was led by a very pragmatic beekeeper. He told us: "When you're cleanin' up yer hives, keep the comb. You can make it inta wax for candles and cosmetic products."
That stuck with me, so once I had enough hives generating burr comb (extra comb that is not where it should be) I started keeping it in a three gallon bucket. Finally, the bucket was stuffed and I decided I'd render it into wax -- figuring I'd be able to make a bunch of candles out of it. But, after rendering the comb into wax (a completely disgusting process that I'll leave for another post), I ended up with far less than one pound of pure beeswax.
It was at that point that I realized why beeswax is so expensive! So, I put the lump of wax up on a shelf. Occasionally I would take it down, smell it (amazing smell...), and try to figure out how many hundreds of hives (and three gallon buckets of comb) it would take to make just one good-sized candle.
Eventually, though, I decided to think smaller. So after a successful mead experiment (yet another future post), I stumbled upon a few recipes for how to make beeswax lip balm that I have adopted and modified a bit to create Gordon's Farm Epicurean Emollient for the Labium Superioris and Labium Inferioris: AKA... Lip Balm.
DIY Beeswax lip balm
After some trial and error, I now follow this recipe pretty closely. (The amount of essential oil, however -- what is too much or too little -- is an endless source of debate among people I have given the lip balm to.)
You will need:
1 oz beeswax (BUY IT: Don't make it!)
5 oz almond oil (I've experimented with adding a little bit of coconut oil, too, but they don't mix well together.)
1 Tbsp real honey
3 drops peppermint essential oil
A dozen or more 10-16 gram containers (you can order these online, or look for them in a craft store like Hobby Lobby or Michael's)
1 chopstick, for mixing
Mine are made with local honey and beeswax, which is worth investing in if you can find it.
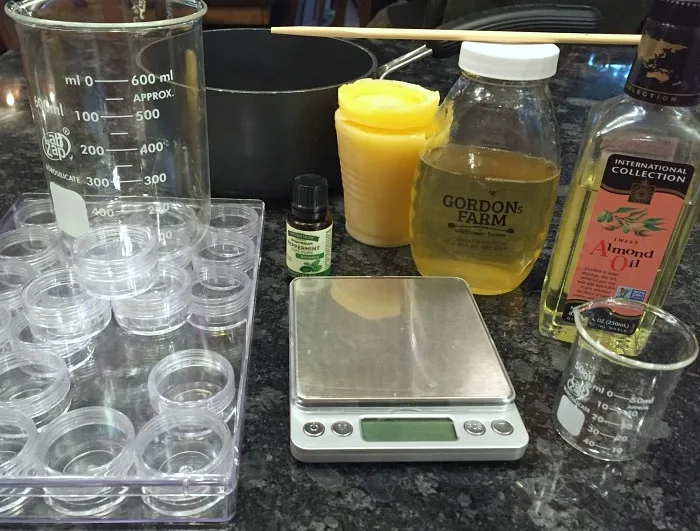
Note: The scientific gear is optional. My son took an online honors biology course last summer and needed the gear for the labs -- so it's come in handy here! You will, however, need some way to measure out one ounce accurately -- a precise digital kitchen scale will work here.
Step One: Measure out your ingredients
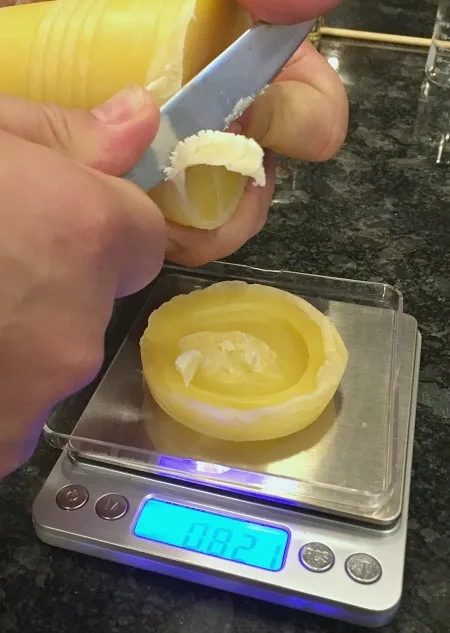
I starting by zeroing out the scale with a plastic dish on it, to spare the surface.
Important note here: beeswax is impossible to clean up. It will stick to everything and stay there forever. Be really careful with it: It will clog your pipes, and the only way to get it out is to spend $$ on a plumber. TRUST ME. I spilled beeswax on my back patio two years ago. It still looks just about the same as the day I spilled it, even though it's in a high traffic area. I wiped out all my containers here with paper towels to remove the wax while it was still liquid; don't ever pour it down the sink.
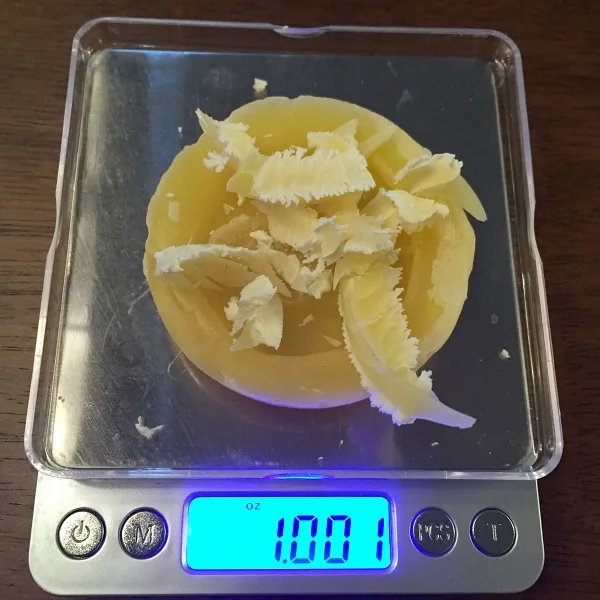
I then weighed out one ounce of beeswax and set it aside.
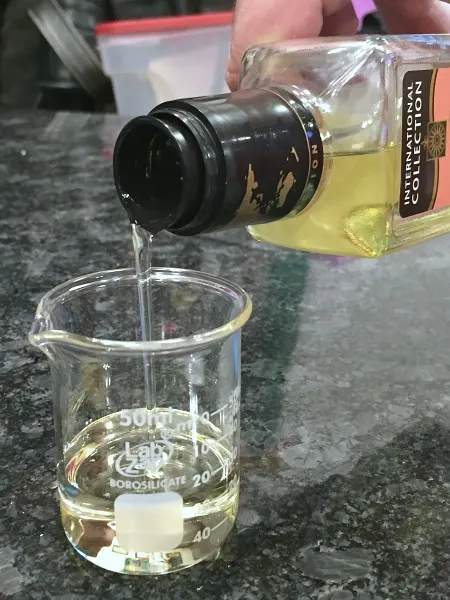
Next, I measured out the almond oil (150 ml, or 5 oz). Rachel pointed out that I could have just put the big beaker on the scale, zeroed it, and poured out 5 ounces. But being a guy, I felt my way was more scientific. (Truth be told, the next time I made it I did it her way. Much easier!)
Step Two: Cook it up
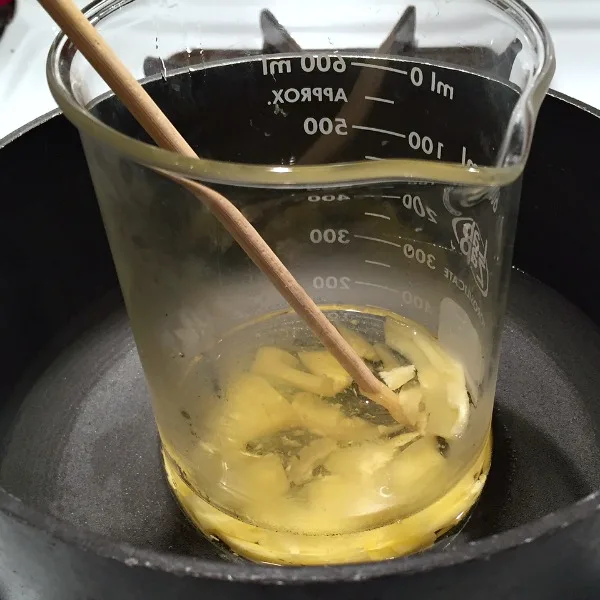
Using another pot with water in it, I put in the beaker to make a double boiler. I gradually heated up the oil and started melting in the beeswax, stirring with the chopstick.
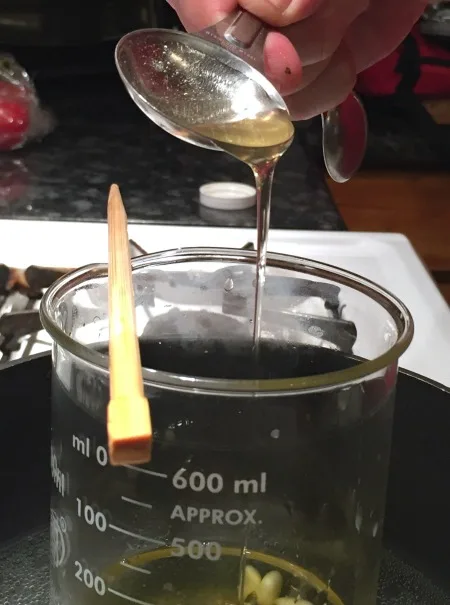
Finally, once all the wax was melted, I added in a tablespoon of honey and stirred until it was completely dissolved.
Step Three: Add essential oil
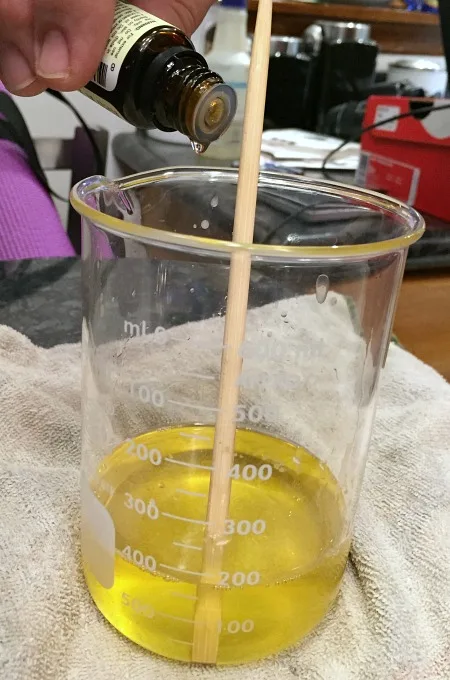
I removed the almond oil, wax, and honey mixture from the heat and stirred in three drops of peppermint essential oil.
Step Four: Check the consistency
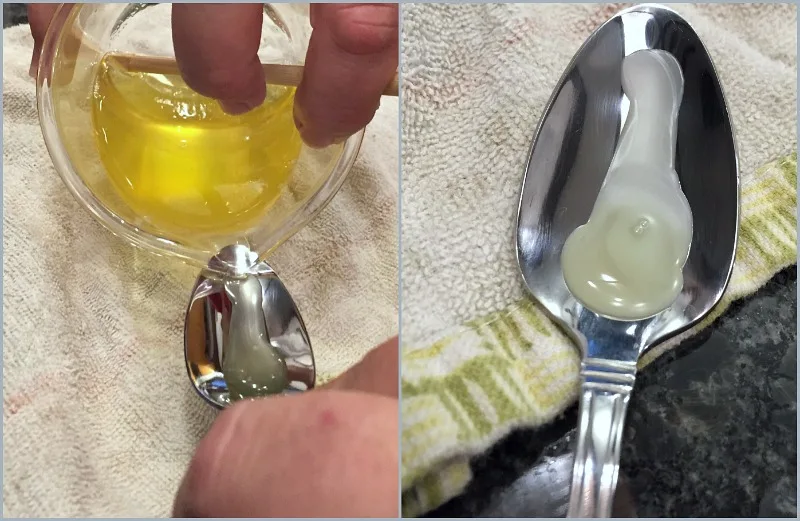
Once the essential oil was stirred in, I poured a little bit of the mixture out onto a spoon and let it cool. Once it cooled I was able to check the consistency to make sure it was how I wanted it. (In the batch I made here, I actually melted in a little more beeswax because the texture was too mushy and I wanted it a bit firmer.)
Step Five: Fill your containers
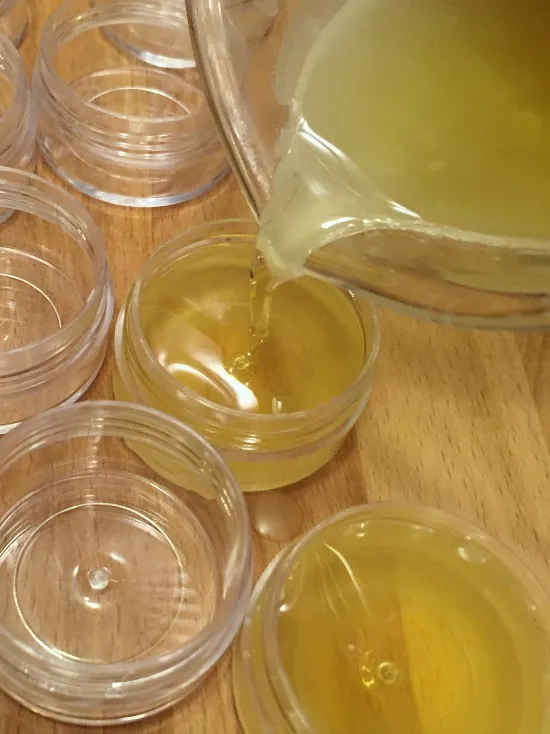
I then repeated the spoon test to make sure the consistency was perfect. After determining that it was good, I quickly filled the containers. (Once the wax starts to cool, it's impossible to work with.) Because I was using a Pyrex container, I could hold the top of it in my bare hand and quickly fill the containers with the hot liquid.
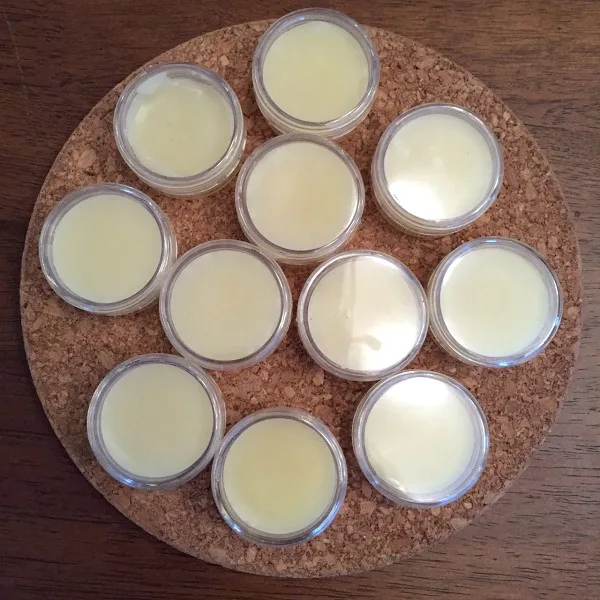
Finally, I let the lip balm cool and then screwed on the lids. Done! This method should also work well for lip balm tubes -- but I have terrible aim, and would probably make a huge mess trying to fill them. Note: I did fill 12 containers in total, but Mr. 10 ran off with one before the photos were taken.
Make it... or buy it?
Under the make it or buy it banner: Without looking too hard for deals, all of the ingredients here divided out to run about $1.06 total per finished lip balm. This factors in the honey, the beeswax (free to me, but incredibly time-consuming), the containers (around $.40 each), and the essential oil -- but the lion's share of the cost here was around $7.00 for the almond oil.
I think if I shopped hard for deals and made a larger quantity, though, I could knock that down to $.75-$.80 a piece. (If I were buying the beeswax by the pound it would run me another $.70-$.90 per ounce, so add another $.06+ per each if you need to invest in a supply of beeswax as well.)
If you buy it...
Beeswax lip balm tins run around $3.50 and up, so it does end up cheaper to make your own. Now that you've seen exactly how to make beeswax lip balm, though, it then becomes a question of how much time and effort you want to put into it!
More Make it or Buy It Ideas
If you’re looking for more “make it or buy it” ideas, read more here:
Anything else you’d like to see covered in these categories? Comment here!

Erinn
Monday 28th of March 2022
My honey isn't mixing with the oil & beeswax
46 Cute & Easy DIY Lip Balm Ideas in Many Colors and Tastes - Craft Board
Monday 1st of April 2019
[…] Source: www.mashupmom.com […]
Tasha
Monday 11th of February 2019
Hello do you have an alternitive oil foralergy reasons?
Nancy V
Friday 7th of December 2018
Im having trouble with this project.....the finished product is very hard. It will be difficult to use a lip products if It has to be chipped out of the container. What did I do wrong?
Claire
Sunday 5th of November 2017
It is awesome. It worked perfectly